One Mollymawk, Multiple Albatross servers
2025-12-11Recently, we completed our implementation of managing multiple albatross instances from a single mollymawk dashboard. This new "Meta-Mollymawk" functionality is designed to ease deploying and scaling unikernels across diverse physical machines or cloud environments.
The Challenge of Distributed Unikernel Management
Deploying unikernels across different physical servers or geographical regions and managing these distributed albatross instances, with each hosting its own set of unikernels means interacting with each server individually. This can lead to fragmented oversight, increased manual effort, and a steeper learning curve for new operators.
Our goal with Meta-Mollymawk is to provide a unified dashboard for all your albatross installations. With this, we can:
- View all running unikernels across different albatross servers.
- Deploy new unikernels to any connected albatross instance.
- Create new resources (volumes) on any connected albatross instance.
- Start, stop, and configure unikernels, regardless of their physical host.
- Scale your services by easily distributing unikernels to available albatross servers.
This significantly enhances operational efficiency, especially if you plan to run a multitude of services or managing unique deployment requirements.
With this, we focused this milestone on:
- Developing core functionality: i.e implementing the underlying communication mechanisms to allow a single mollymawk instance to communicate with multiple albatross daemons simultaneously.
- Enhanced dashboard: Extend mollymawk's user interface to list, start, stop, and configure unikernels across all connected albatross instances intuitively.
- Seamless communication: Ensure same secure communication channels between mollymawk and each albatross instance, adhering to resource policies.
Using Mollymawk with Multiple Albatross Installations
To connect mollymawk to an albatross instance, you'll need a few pieces of information for each albatross server you wish to manage:
- Name: A friendly label for the instance (e.g.,
prod-eu-1,dev-us-west). - IP: The IP address of the albatross server (e.g.,
10.0.42.15). - Port: The port albatross is listening on (default is
1025). - Certificate: The content of the albatross server's certificate file.
- Key: The content of the corresponding certificate key file.
(For details on generating albatross certificates and keys, please refer to this albatross documentation.)
Demo: Adding a New Albatross Instance to Mollymawk
Let's walk through the process of adding a new albatross instance to your mollymawk dashboard.
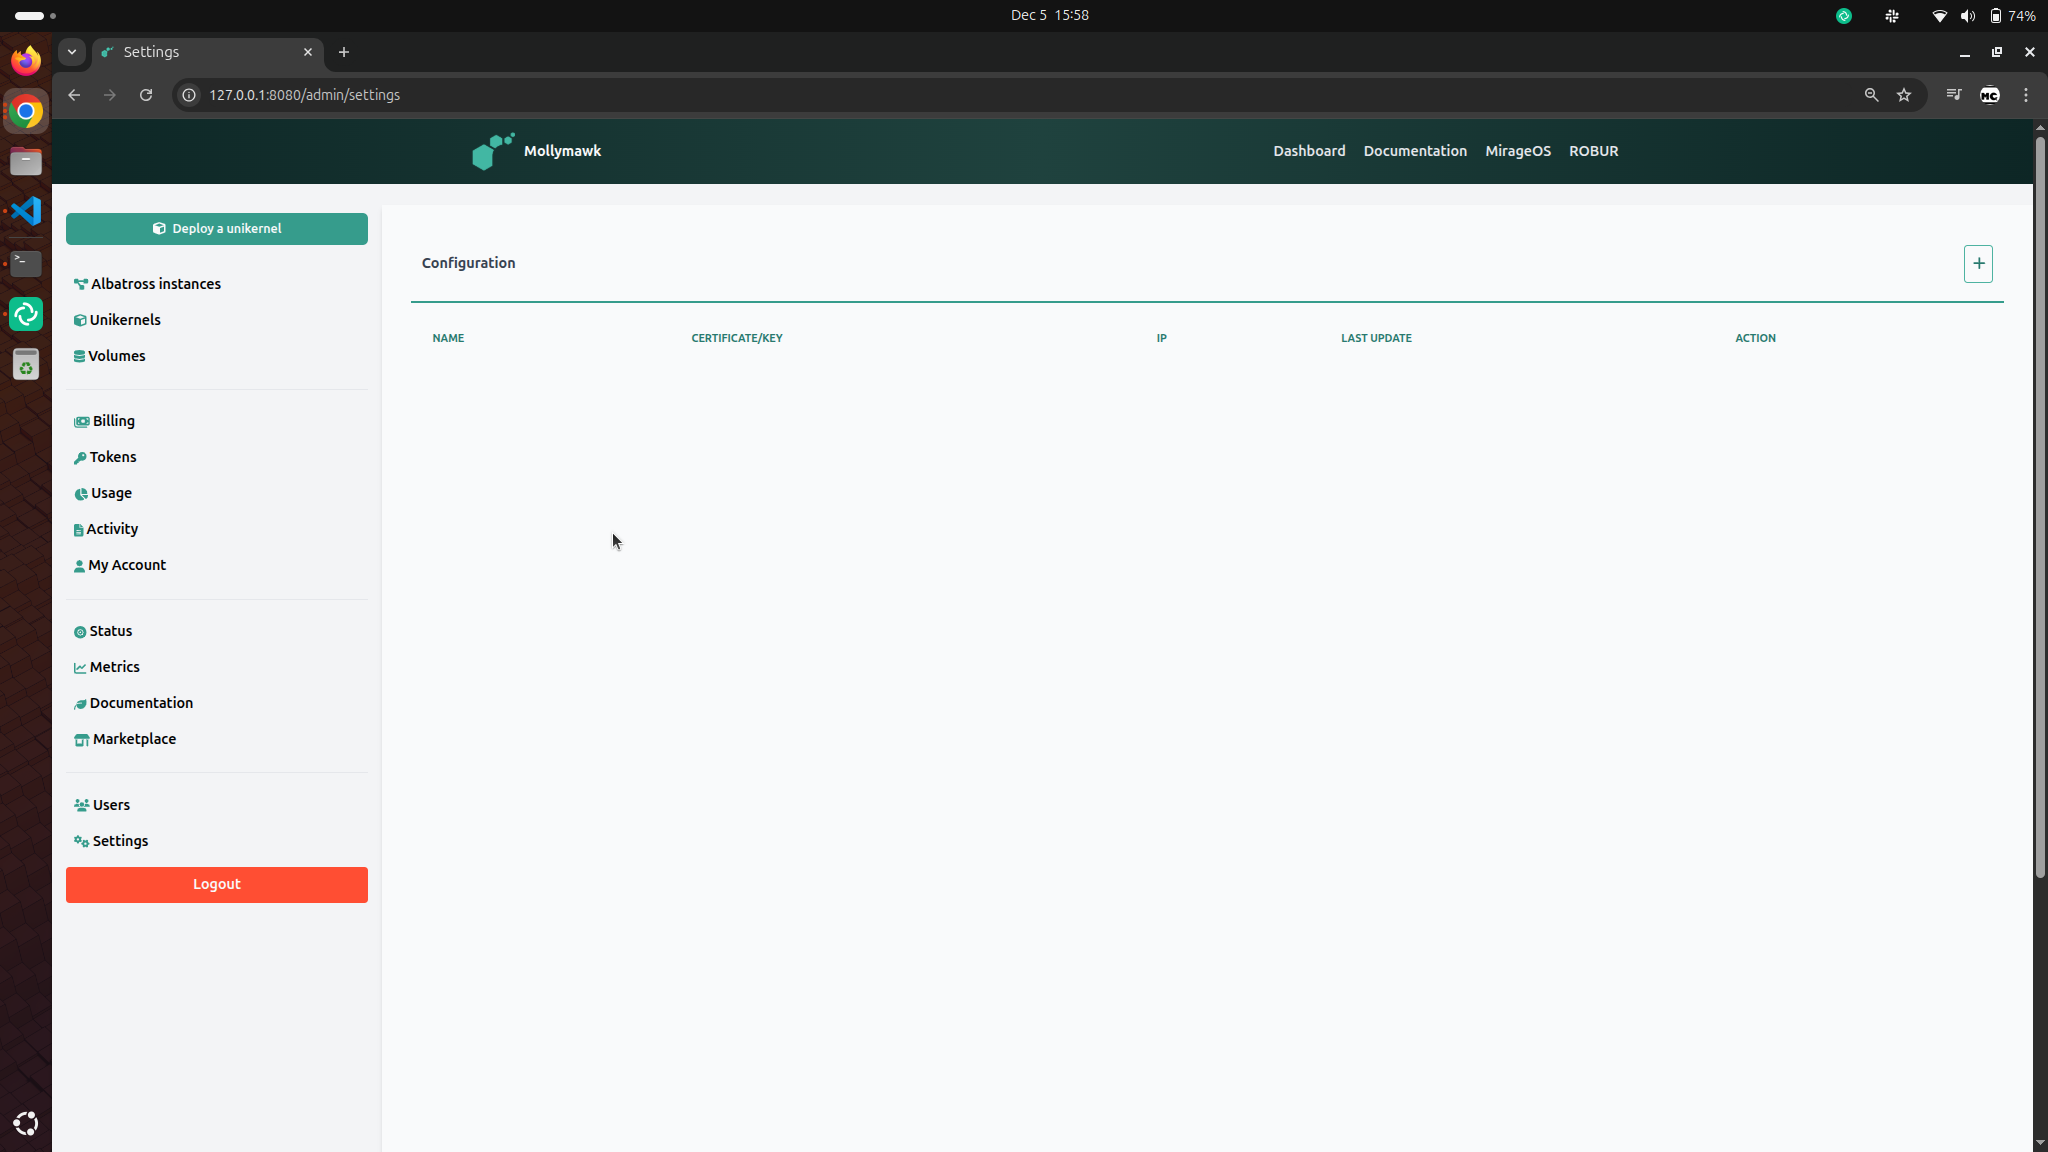
- First, navigate to the
Settingssection in mollymawk. You should see a [+] button on the top right coner.
- After clicking the [+] button, you should fill in the data as explained in Using Mollymawk with Multiple Albatross Installations to configure the albatross server, then click the save button.
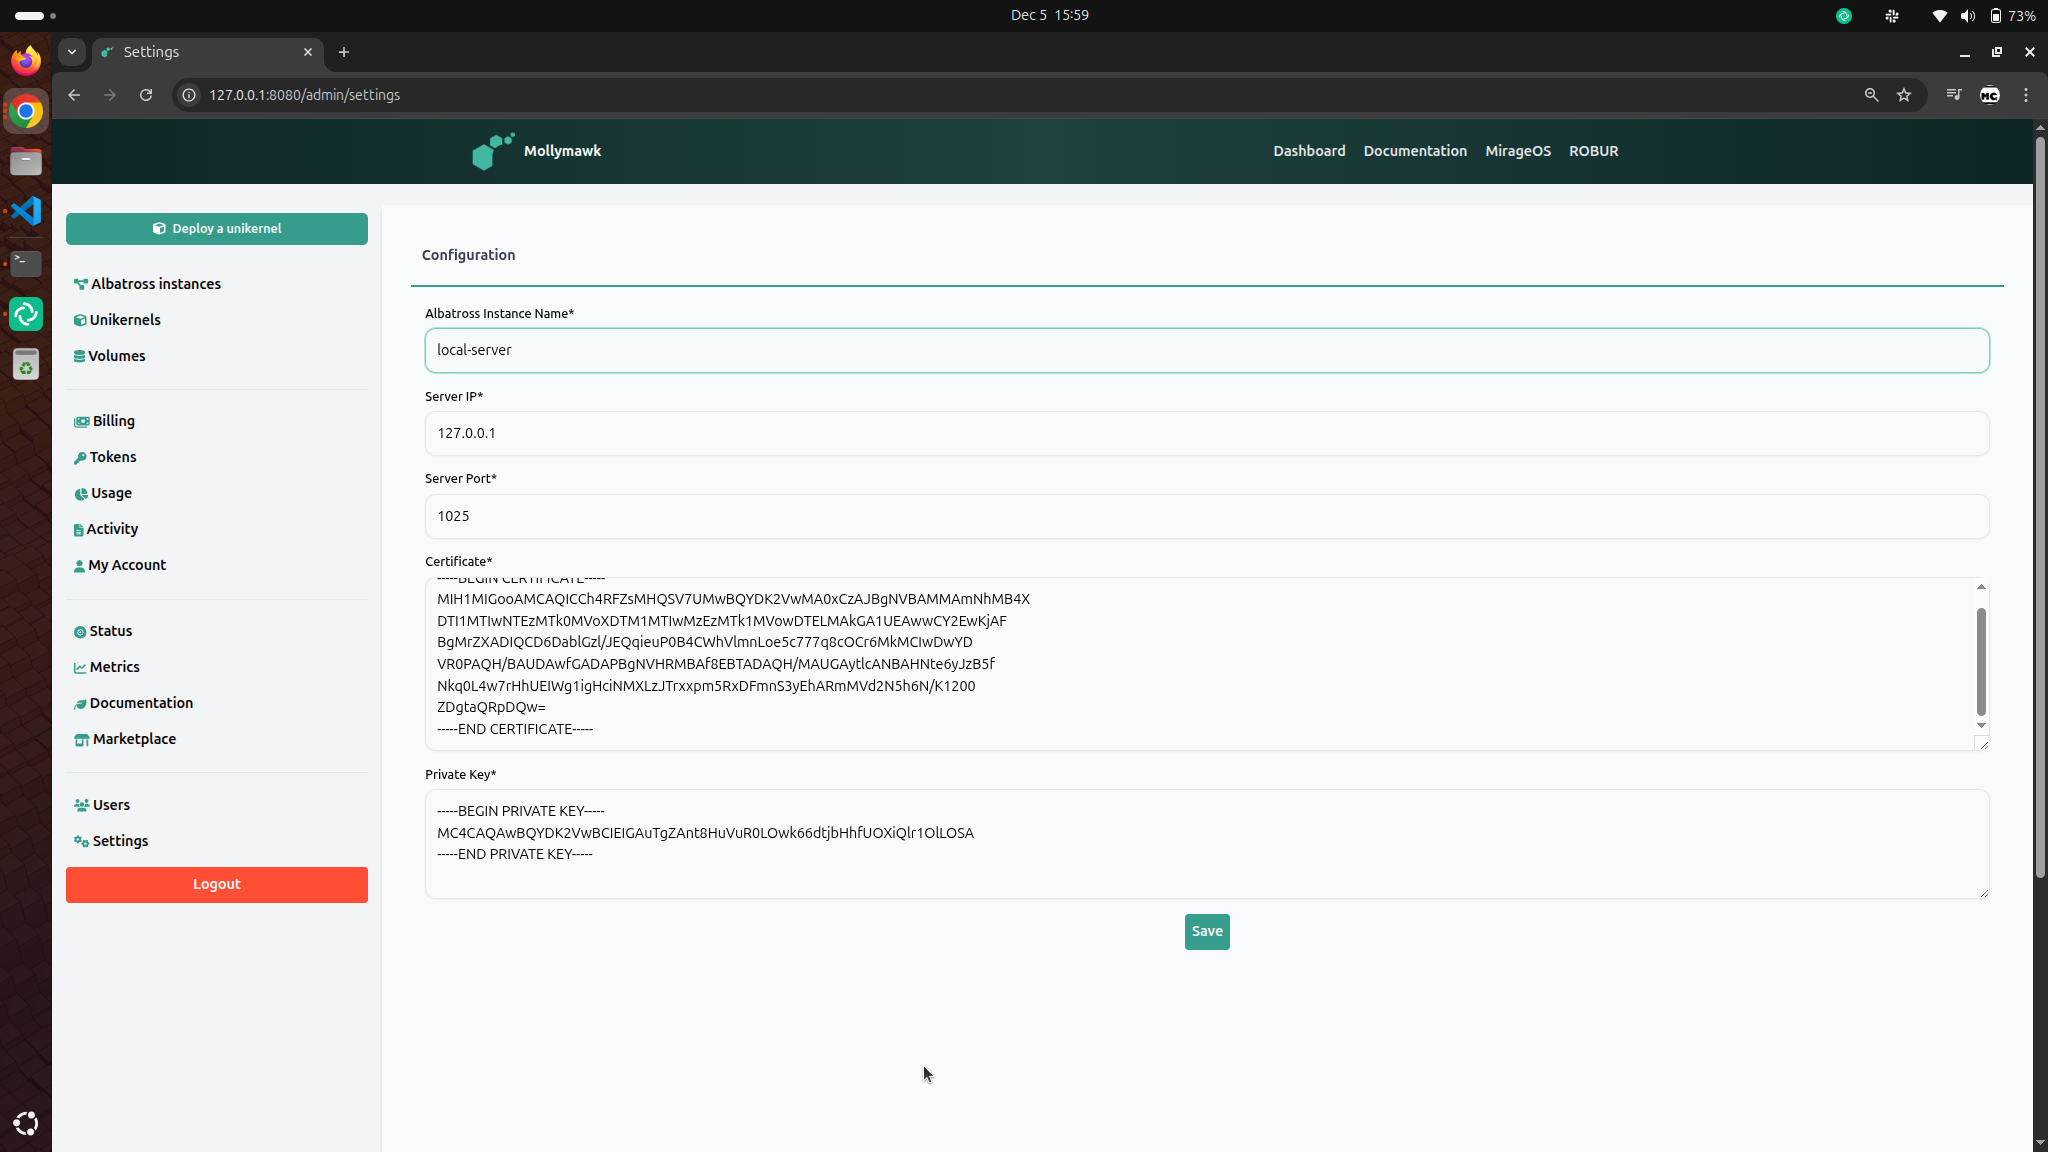
If the configuration succesfully connects, then the albatross server will be added to Mollymawk and is ready to be used. If Mollymawk can't connect to the albatross server, it will display and error with what went wrong.
Demo: Deploying a Unikernel to a Specific Albatross Instance
With multiple albatross instances connected, deploying a unikernel is just as straightforward.
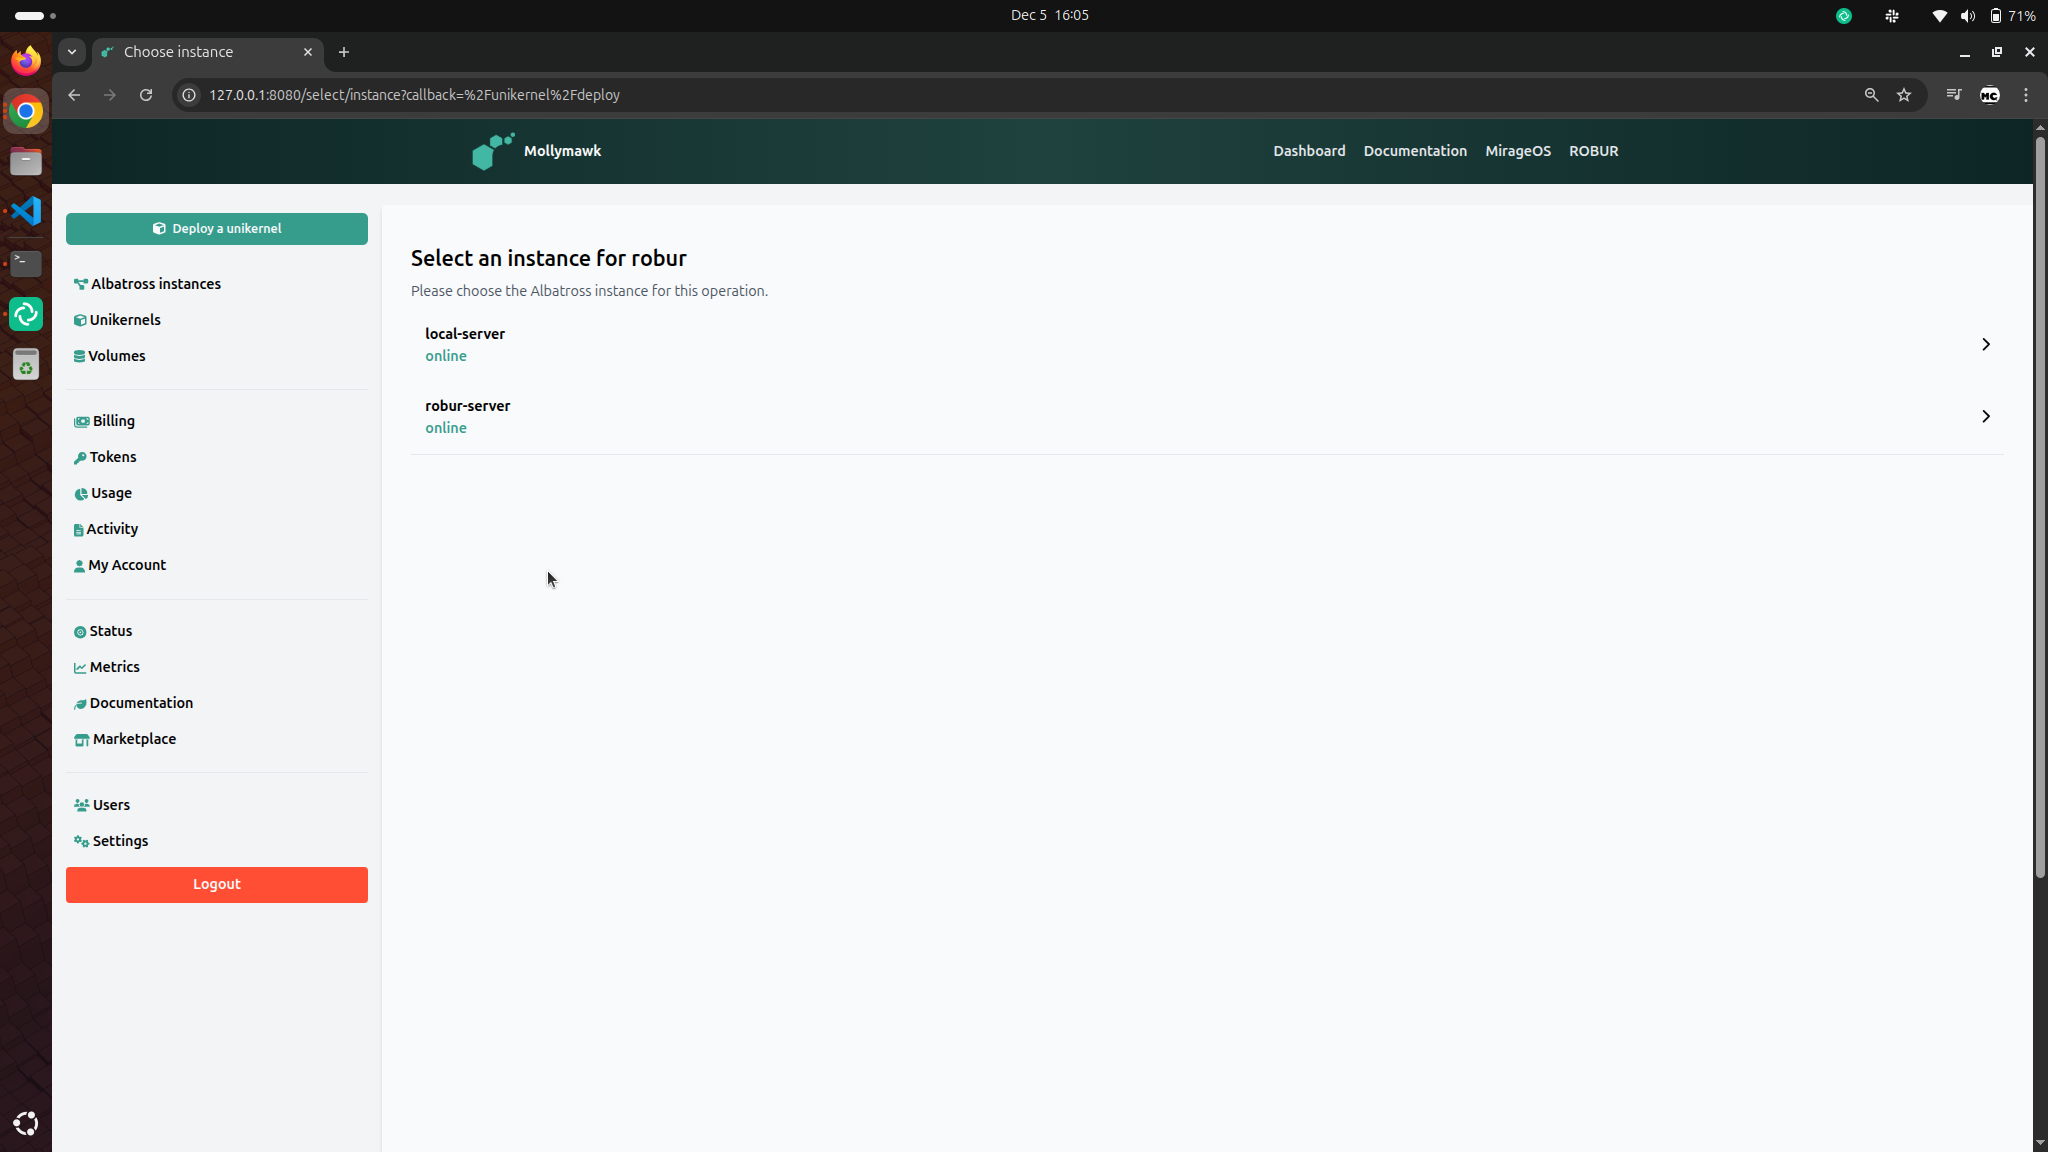
- Click the
Deploy a Unikernelbutton on the sidebar. You should be presented with a list of all available albatross servers. Select the server you will like to deploy your unikernel on. In this example, we will deploy a unikernel to the newly created albatross server calledlocal-server.
- Fill information about the unikernel

- After a succesful deployment, you will be redirected to the page where all deployed unikernels are listed accross all albatross servers. On the top-right you can use the dropdown to filter the unikernels by albatross server.
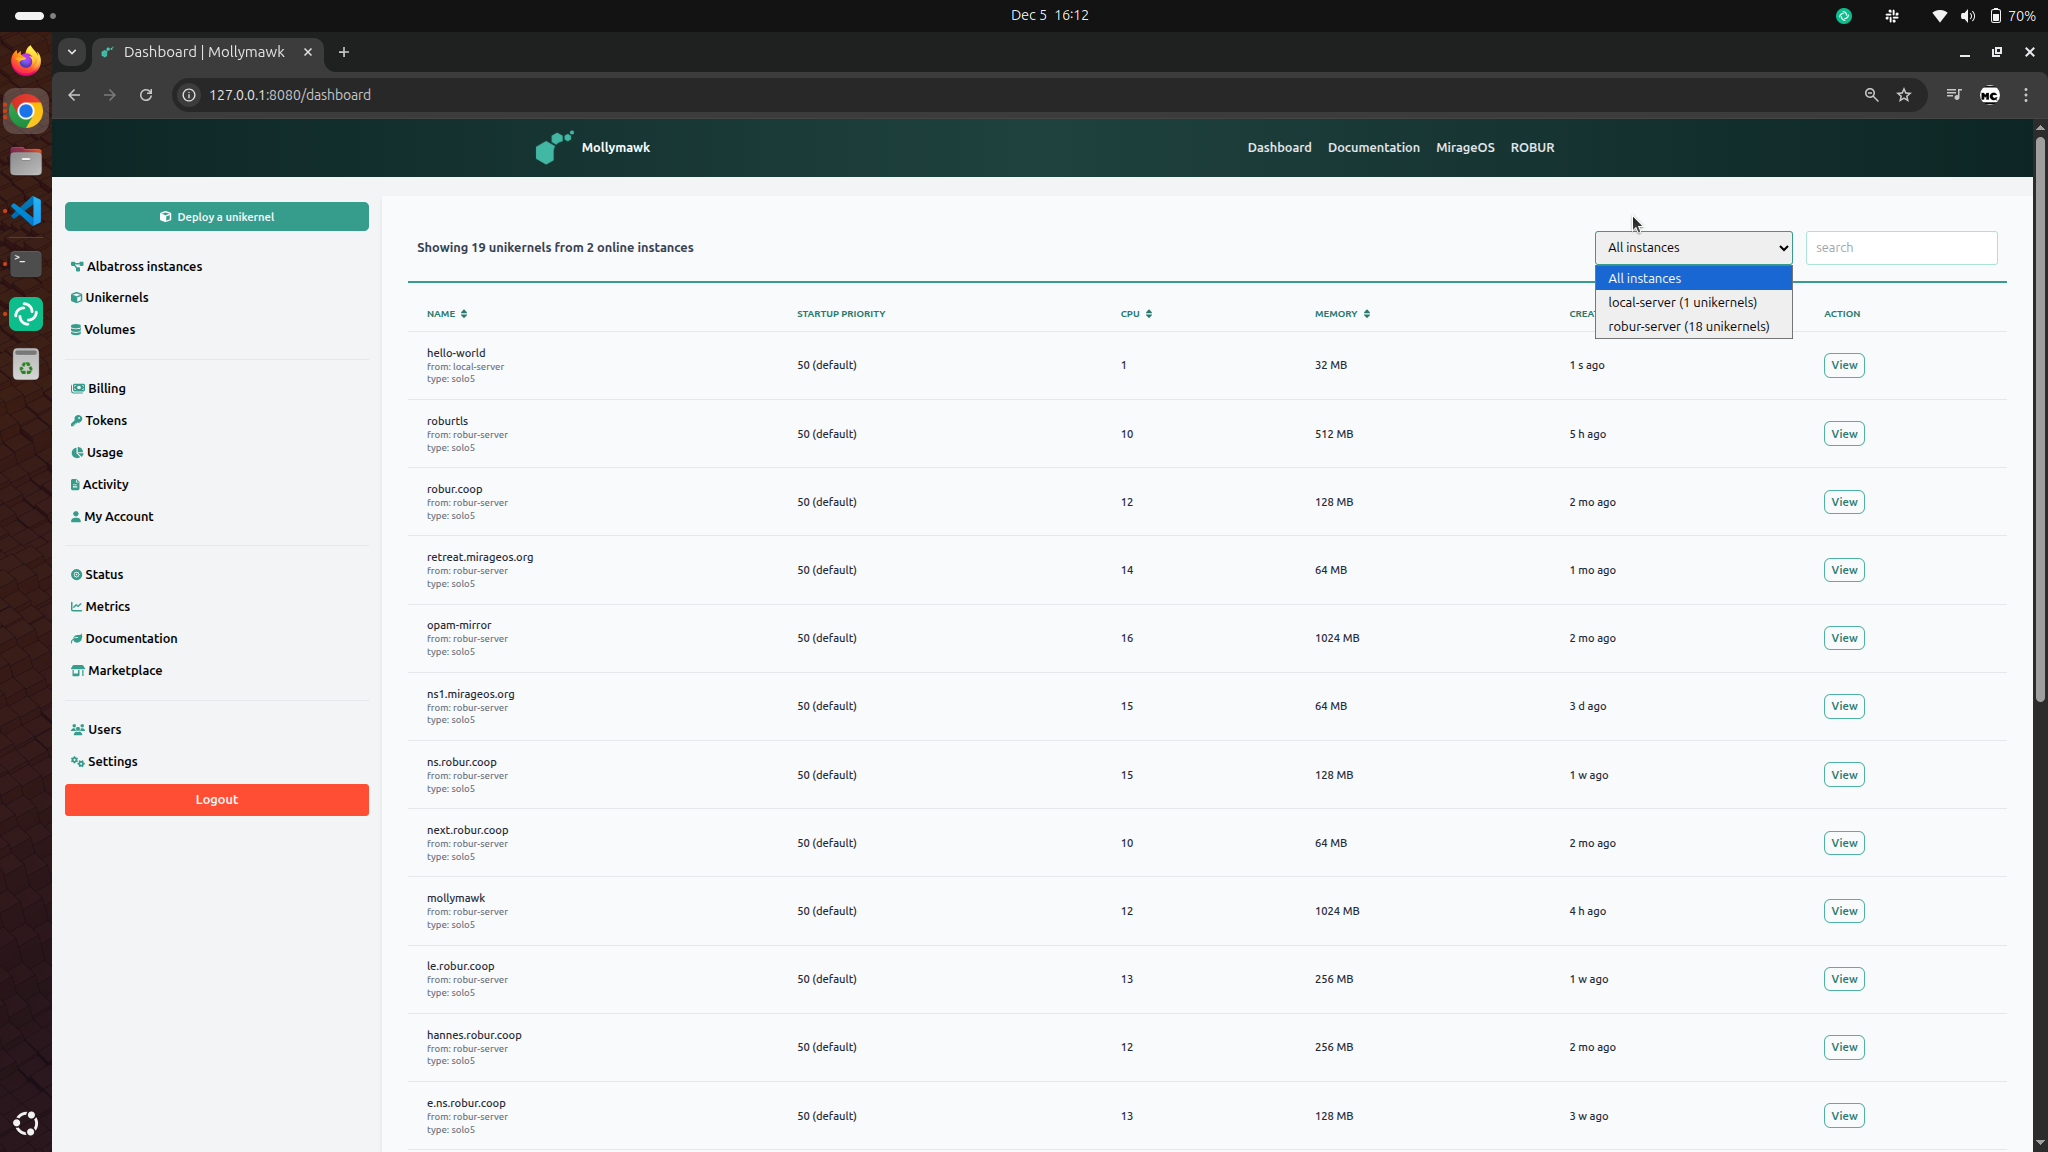

You can see how this unified management view dramatically simplifies operations, enabling you to manage your entire unikernel fleet from a single, convenient location.
Security and Resource Policies
The Mollymawk operator may allow for each Albatross server different resource limits for each user. So, there may be Mollymawk users who are only able to deploy on one Albatross instance -- in which case Mollymawk doesn't bother asking where to deploy. But there may be other users who are able to deploy to different Albatross servers, thus each deployment will need to specify where the deployment should take place. This involves all resources including virtual machines, volumes, network interfaces etc.
The work for this milestone was achieved in the following PRs: